juni 08, 2012

http://www.purlbee.com/candy-corn-trick-or-treat-bags/

Happy Trick or Treating! --Molly

Materials


To make a set of three 10-inch tall bags:
If you'd only like to make one trick or treat bag you will only need one piece of the yellow "Sun" colored felt, to make two you will need two pieces.

Cutting


Fold the yellow ("Sun") felt in half diagonally and then place the Candy Corn Base template along the fold as directed. Cut the felt along the template. Repeat this for the two other pieces of yellow felt.

Trace the middle template three times onto the orange felt as shown above so that all three shapes fit onto the one piece of felt.
Cut three of the top templates from the ecru felt (you will have no problem fitting them.)
Cut three 20-inch lengths from the grosgrain ribbon.

You will have three of each shape and three lengths of ribbon.

Adding the Stripes


Iron the middle crease out of one of the yellow base pieces.
Place a white piece at the point of the base piece, lining up the sides so they match exactly.

Place an orange middle piece below the white piece so that the middle piece's edges line up exactly with the base. The top of the middle piece will overlap the bottom curved edge of the top piece.
Pin the middle piece down along both of its curved edges. When you pin along the top curved edge make sure that you are pinning through all three layers (the top piece, the middle piece, and the base.)

Using the orange thread top stitch the middle piece along the pinned edges. By sewing the top edge of the middle piece you will also be sewing through the top piece.

Sewing the Bag


Fold and pin the entire piece in half width-wise, right sides together, so that it forms a pie-slice-shape. Using the yellow thread, sew the pinned sides together with a 1/2-inch seam allowance.

Sew a horizontal line 2-inches above the bottom of the bag as shown above.

Snip off the bottom angle of the bag a 1/4-inch from the bottom horizontal seam.

Hemming the Top


Press the side seam of the bag open.

Fold and pin the top edge of the bag 1/2-inch towards the wrong side all along the top edge. Since this is a curved edge it will not lay 100% flat so do not iron it down, just fold it over with your fingers and pin it.

Using the yellow thread hand stitch this fold down with a small running stitch. The stitches you make should be very small on the right side of the bag and wider on the wrong side. The picture above is a close up of the wrong side, and the picture below is of the right side.

Attaching the Handle


Open the bag so that the seam is in the center. Pin the ribbon 3/4-inch below the rim of the bag at the left and right sides, making sure not to twist the ribbon.
Using the yellow thread and the sewing machine sew the ends of the ribbon down 1/2-inch from the top edge of the bag, along your hand sewing seam. Make sure to backstitch on either end of these short seams to secure the handles.

Turn the bag right side out, repeat for the other two bags, and you're all done and ready for candy!

http://www.purlbee.com/spring-napkins/

Materials

To make twelve double sided napkins (To make more or fewer napkins keep in mind that you'll need two fat quarters and 2-yards of rick rack per napkin):

Cutting

Pick out two fat quarters that you like together. I paired greens with greens and yellows with yellows but you can mix and match if you like!
Press and cut each fat quarter into a 16 1/2-inch X 16 1/2-inch square.
Cut 2 yards from one of the rick racks.

Pinning

Lay the first square down and smooth it flat.
Starting in the middle of one of the sides place the rick rack along the edge of the fabric with the outer points of the zig zag lined up exactly to the edge.

Place the second square neatly on top of the first square and pin the three layers together, making sure the rick rack remains lined up with the edge of the fabric. Leave a 3-inch un-pinned tail of rick rack at the start.

Continue pinning the two squares together with the rick rack along the edge. When you come to a corner neatly bend the rick rack into a 90-degree angle as shown above and continue pinning.

Pin the three layers together in this manner until you get back to the beginning. Leave a 3-inch opening un-pinned and a 3-inch tail of rick rack at the end.

Sewing

Sew the three layers together along all four sides with a 1/4-inch seam allowance. Make sure to leave the 3-inch opening un-sewn. Back stitch at the beginning and end of each seam.

Turn the napkin right side out through the opening.
Press the napkin flat paying special attention to poking out the corners.
Iron the raw edges of the opening 1/4-in towards the wrong side.

Place the tails of the rick rack in-between the sides of the ironed opening until they meet and then tuck their raw ends inside the napkin. Pin them neatly in-between the two fabric layers as shown above.
Slip stitch the opening closed by hand.

Press your napkin and you're all done!
Repeat all steps for each napkin and then go set the table!

http://www.purlbee.com/felt-flower-winter-wreath/2010/1/4/pages-felt-flower-winter-wreath.html

Materials


Sew Background


Using the zigzag stitch on your sewing machine and the off-white thread, sew together two pieces at a time of the 5mm thick felt to create a four piece grid.  You will need to roll the felt on the right side to fit it through the machine.  If you are worried about the felt remaining perfectly lined up while sewing it, tape each seam together on the back of the felt with masking tape.  It is easy to remove even after sewing over it.  Back stitch at the edges and in the center for durability.  If the felt pieces are uneven after sewing them all together, trim edges straight using a rotary cutter , cutting mat and non-slip ruler.

Trace Templates


Trace a circle approximately 13-inch in diameter with a fabric marker.  My garbage can lid worked perfectly!  This circle will be your guide for placing the flowers once you have cut them.

Download and print flower templates here.  Cut out templates.  Trace flower and flower center templates onto the 18-inch x 18-inch pieces of ecru felt.  For my wreath I used:
  • 5 Poinsettias (I used the small poppy piece as a center)
  • 9 Poppies (I varied how many poppy layers I used each time)
  • 6 large Asters
  • 4 small Asters
  • 5 Clematis
  • 5 Dogwoods
  • Approximately eleven flower centers of varying shapes and sizes.

Cut Flowers and Centers


Cut out all the flowers and centers using sharp fabric scissors.

To make fringed flower centers, cut along solid lines marked on templates.  To make looped center, first fold the felt on the dotted line and pin.  Then cut along solid lines.  Remove pins.

For all three center types, roll from one end to another to create the center.  You can stick a pin through the center to hold it together until you are ready to sew it.

How to save money on doing Crafts.

http://www.save-on-crafts.com/

http://boards.weddingbee.com/topic/where-did-you-buy-your-brooches-for-bouquets

nikkialys    September 8, 2012   Fayetteville, North Carolina


I got all mine at thrift stores.  The thing to remember is it doesn't have to be a brooch.  Try looking for costume rings, necklaces(especially with a pendent on it), earring and shoe clips.  As long as you can figure a way to attach a wire to it you can use it.   I found one thrift store where they held onto earings that were missing a mate.  I got a bag of about 20 of those for 5 dollars.  The actual brooches are popular right now so they can be expensive.  If you get a little creative with the jewelry you can definitely save some money.   you can also try eBay, they have lots of brooches for sale, but they came out more expensive then my thrift store finds.

http://www.fabulousbrooch.com/

http://www.fabulousbrooch.com/


http://boards.weddingbee.com/topic/finished-brooch-bouquet-038-giving-away-extra-brooches

jessicayflores    June 23, 2012   New York City
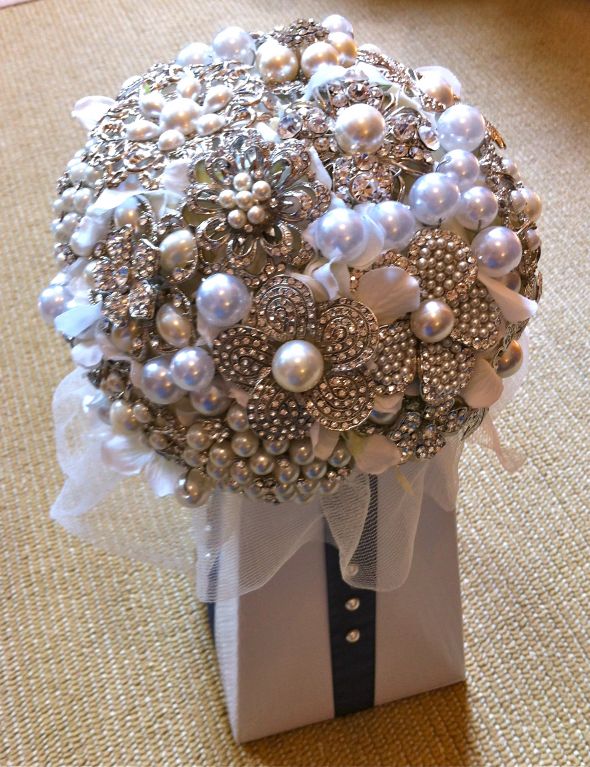
I finished my brooch bouquet this week! I used about 25 brooches (most of them from FabulousBrooch.com), and three hydrangea flowers purchased at a crafts store. I also added some pearls (also purchased at a craft store) that are used for jewelry to fill in some of the gaps. I just threaded some floral wire through it then twisted the ends to create stems.
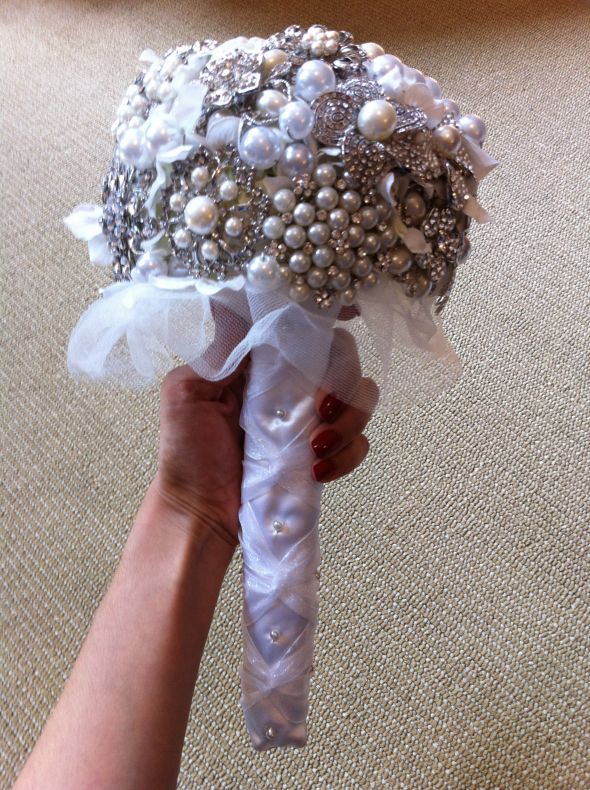
I wrapped the stems in white satin then criss-crossed a sheer white ribbon (starting from the bottom up). I added pearl pins as accents which matches my entire wedding style and decor (as you may be able to tell from the brooches themselves).
I'm super happy with it. What do you think?
I may have to do the bottom over because the stems are a bit too long. And since I have another month and a half to sit and stare at it, it'll probably get to me. If I do, I'll post a detailed tutorial or video tutorial to help others achieve this look.
You can see my brooch bouquet video tutorial and the brooches I'm giving away on [link removed as per self promotion policy].
Finished Brooch Bouquet & Giving Away Extra Brooches :  wedding brooch bouquet video tutorial giveaway brooches free IMG 1672
Finished Brooch Bouquet & Giving Away Extra Brooches :  wedding brooch bouquet video tutorial giveaway brooches free IMG 1678

Flowers

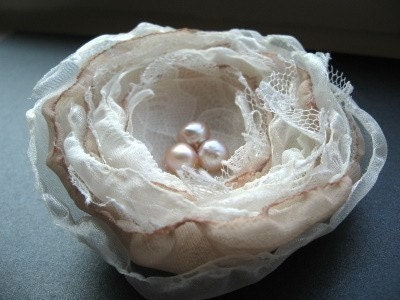
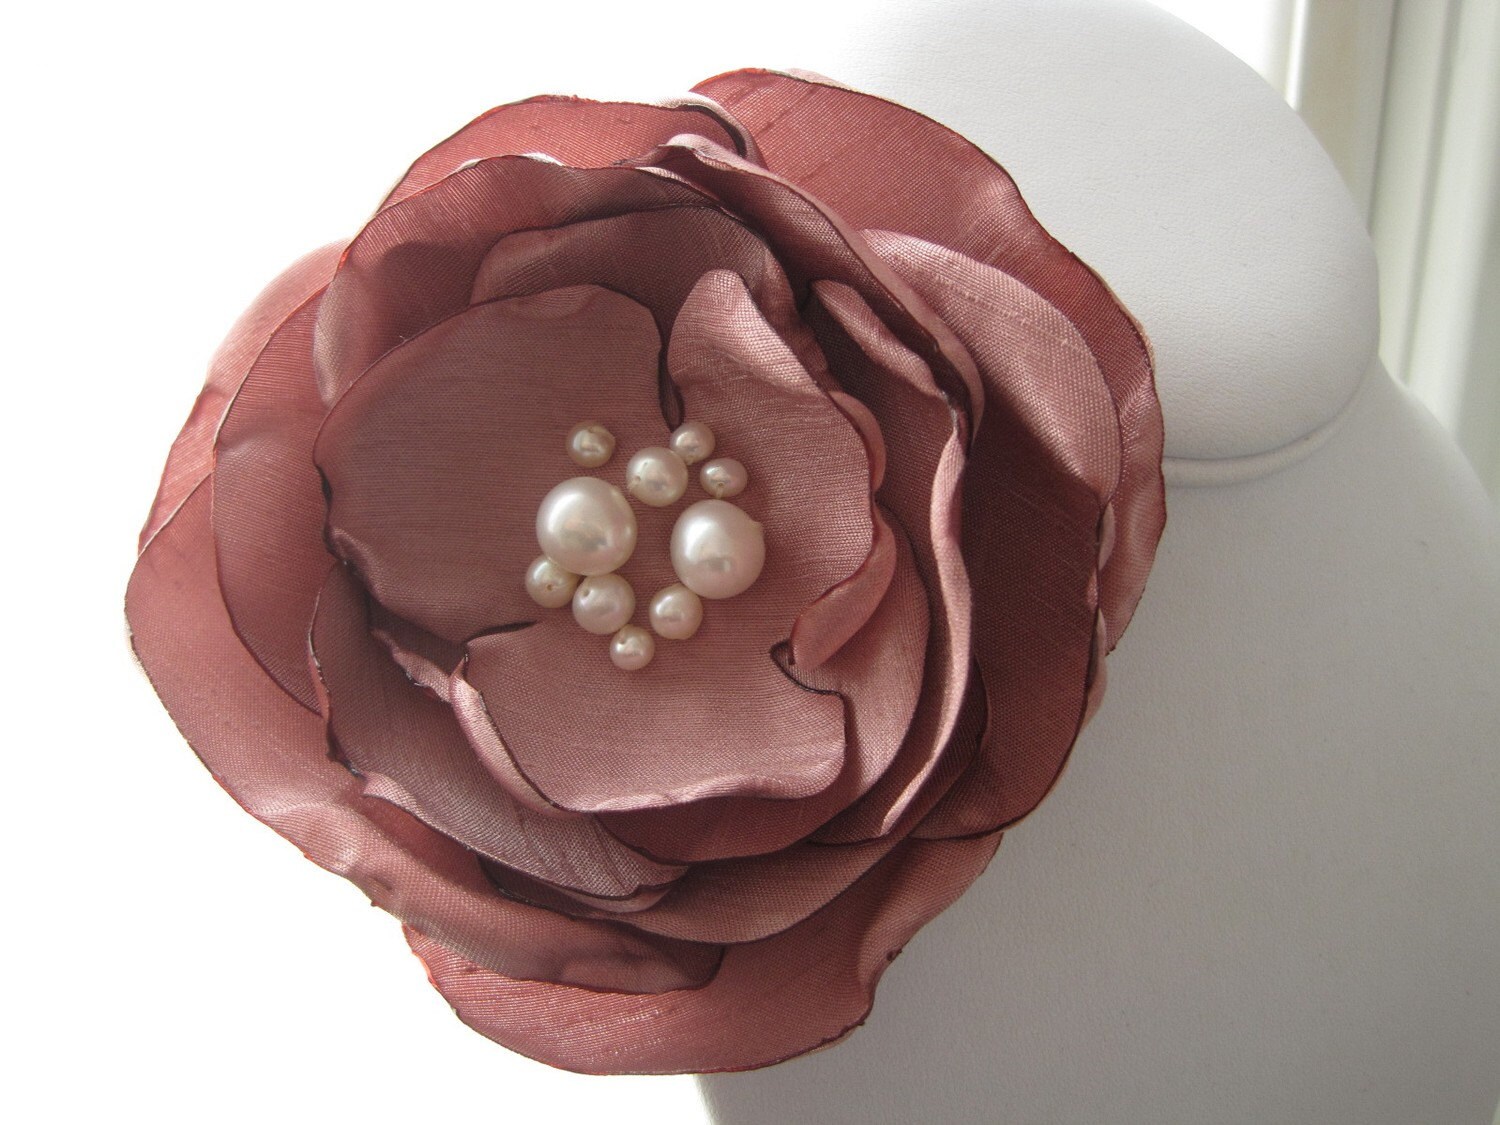
Flower fascinators for my maids - feedback, please! :  wedding Il 570xN.141500521 Flower fascinators for my maids - feedback, please! :  wedding Il 570xN.222720052 http://boards.weddingbee.com/topic/flower-fascinators-for-my-maids-feedback-please