
Chose your colours, mine are green, white, ivory and brown
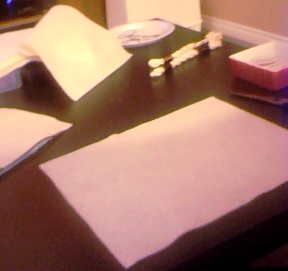
I bought my felt from Michael's but you need to cut it in half, it's easier to work worth, then fold thoses halves in half.
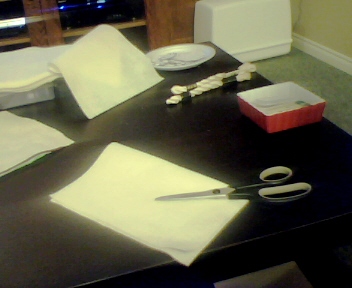
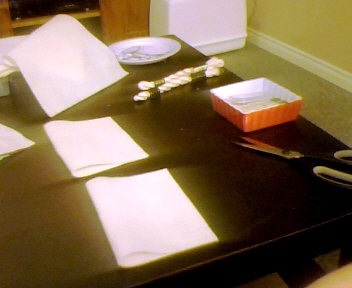
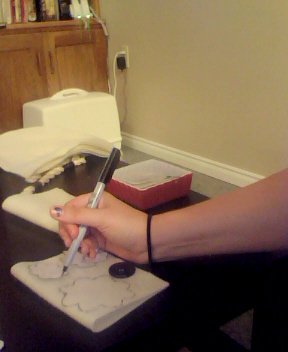
You need flower templates to use as stencils, I'd suggest that you use card stock, printer paper is a little too flimsy. You will need a variety of shapes and sizes some large, some medium, and some small.
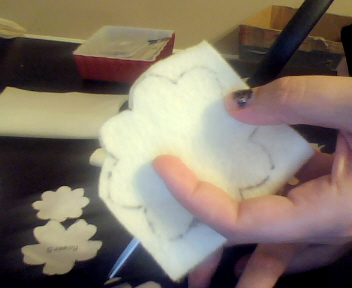
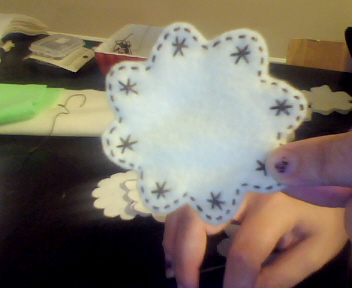
Use a felt marker to outline the flowers. It needs to be folded so that you cut two of the same flower. It needs a double thickness so that they are firm when you stitch into them and so the flowers won't wilt on the stems.
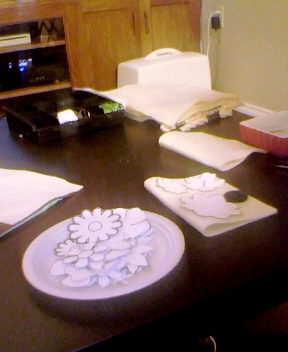
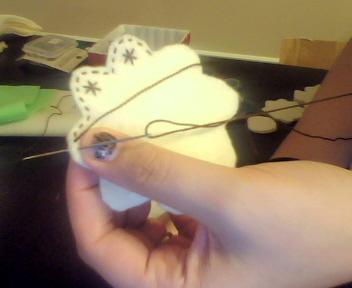
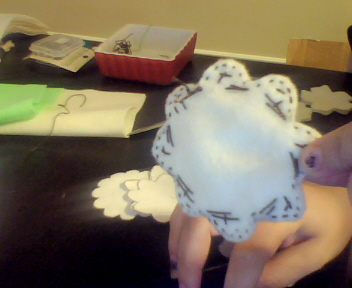
After cutting out the flowers you need to stitch the design you desire, have a variety so you can add interest. It doesn't look great from the back but no one sees that it is the front that's inportant.
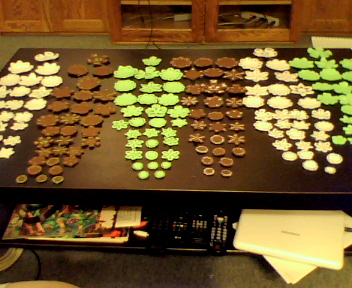
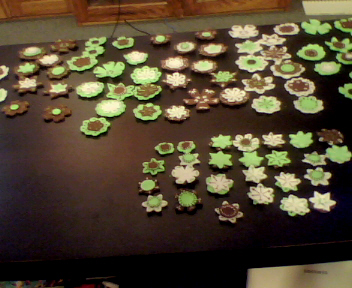
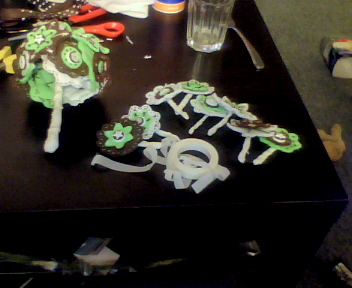
After completing the first 2 bridesmaid bouquets, I decided to do all the flowers for the rest until I could just put the bouquets together. so I had white flowers with green embrodiery, white flowers with brown embrodiery, brown flowers with green embrodiery, brown flowers with white embrodiery, green flowers with brown embrodiery and green flowers with white.
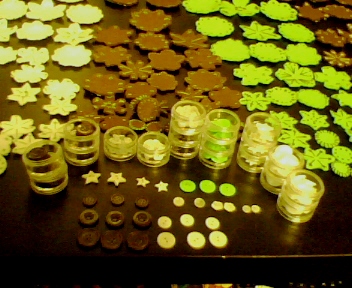
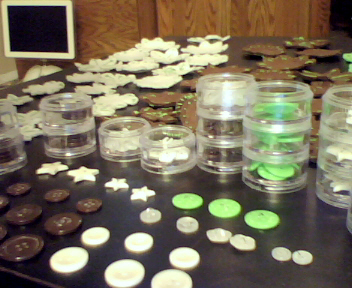
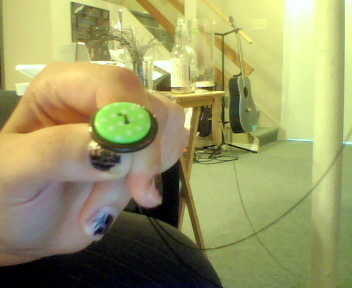
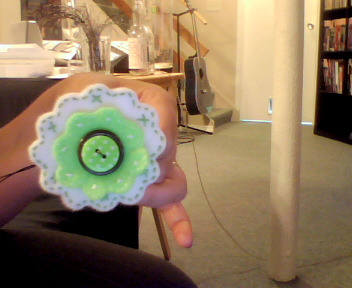
I chose buttons with the same colour scheme . You'll need buttons with 2 holes, I could only find brown buttons with four holes so they needed to go underneath the others.
Match up the smaller flowers with the larger ones until you are happy with the look of your flowers and the colour combinations.

Match up the buttons that you think look best. You can use one button, 2 or 3, when you get past that it looks a little odd.
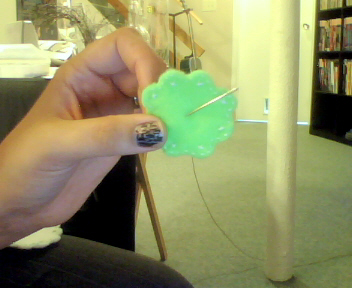
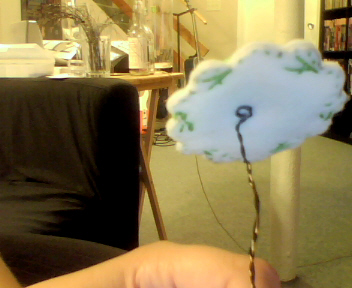
You need to but the buttons on the wire first. Use a needle to help put a hole in the center of your flower. \push the flower up. Follow suit with the rest of the flowers you want on each stem.
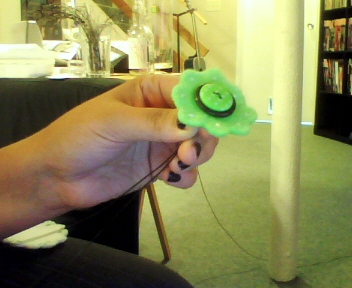
Twist the wire and then make an extra tight loop at the very top to sturdy the flower.
It takes a while to shape the flowers how you desire them but once you figured it out you need to wrap the wires until no longer feel any sharp edges. you do the same for the groomsman flowers as well.
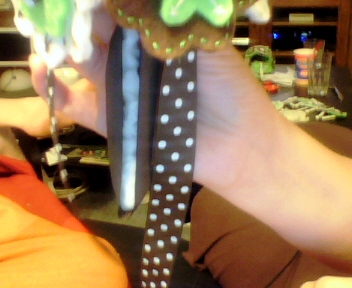
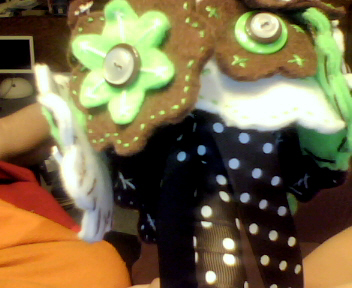
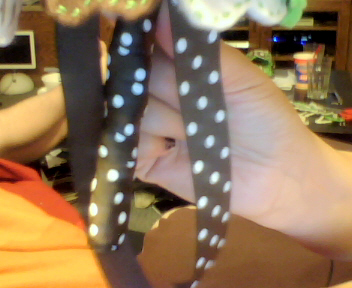
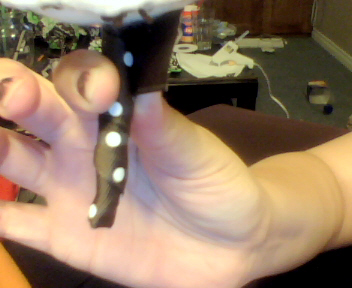
Give slack for the overhang, but place the ribbon around the stem insideout, and then fold it at the top of the stem so you can wrap it up and down with the side of the ribbon you want facing out and knot it at the top.

The buttoniere's are the same as the bouquet's but no overhang and you need to use a glue gun to finish the top. Finish it with a pin with a pearl top.
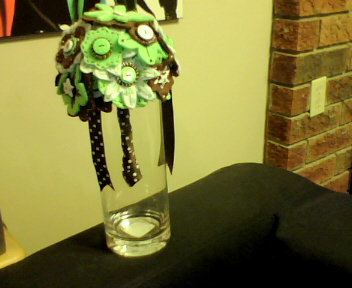
There is one on it's own.
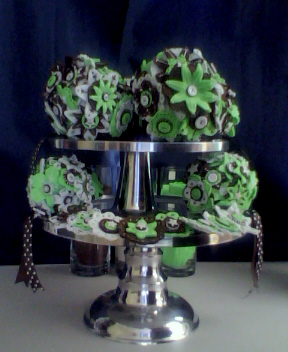
And here they are all done!!http://diy.weddingbee.com/topic/felt-and-button-bouquet-a-complete-how-to
Ingen kommentarer:
Send en kommentar