juni 21, 2013
Craftwork Cards Blog: More than a wreath
Craftwork Cards Blog: More than a wreath: Welcome to my leg of the USA and UK Blog Hop! I would like to share with you a project I made using the flowers from the Create a W...

Craftwork Cards Blog: Vintage Chic Dreams...........
Craftwork Cards Blog: Vintage Chic Dreams...........: Hi Everyone welcome back to the UK from Candy's wonderful post! Hope this finds you all well! Over the past couple of weeks I have...
juni 01, 2013
A nice DIY if you have time
I stumbled upon this pretty and - in this case insperational - story for at great DIY
Farmers Market sign reveal with a story

I have grown almost addicted to Donnas blog and great wood pallet projects.
Farmers Market sign reveal with a story

I have grown almost addicted to Donnas blog and great wood pallet projects.
maj 26, 2013
The American Angle

http://betterdecoratingbible.com/tag/decorations/
This time I have chosen to feature an American inspered table setting. The elements would as such not be diffecult to find:
1. White and red stribed cloth
2. red lanterns and metalic pots - could be any color and you could DIY them red
3. Blue glasses.
I am especially fond of the detail with the stribed ribbon on the flowers.
Paper cone wreath
 tutorial
Today´s featured DIY is a very comon idea of a paper cone wreath. I would however like to point out the idea of framning it and hangning it on the frame. I think that the option to interchange the "things" in the frame aka some thing for easter and another for christmas.
Other ideas
Todays DIY
 I must say I think I am getting close to todays DIY - moveable centerpieces
Source
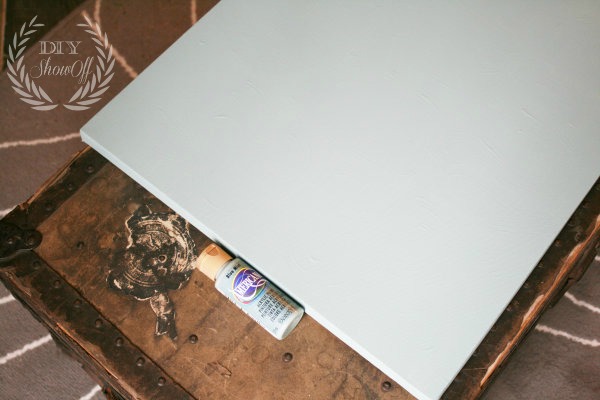
For this project, I gathered
- an old canvas
- acrylic craft paint
- my Silhouette Studio Designer Edition software
- my Silhouette Cameo.

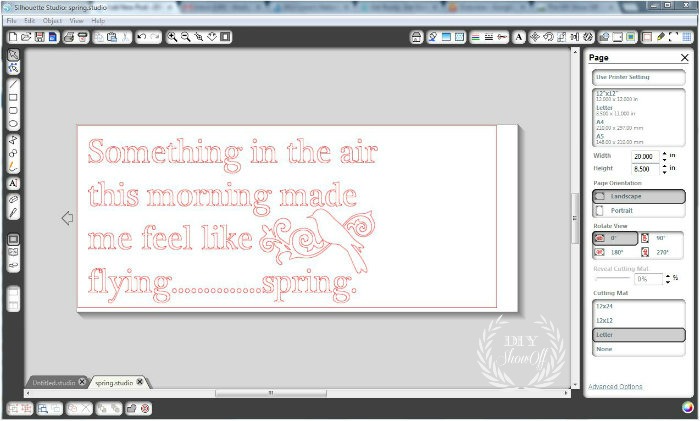
I created my spring stencil using the Silhouette Studio Designer Edition software which allows me to select fonts, sizes and shapes to create a stencil template. Then simply ‘send’ to cut…
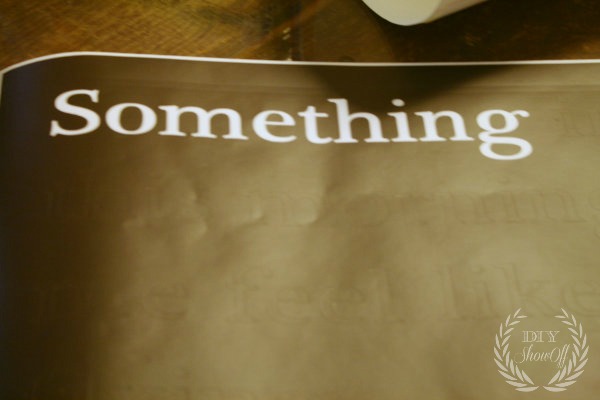
Since I’m using my vinyl as a stencil, I removed all of the letters (these can also be saved to use in the same was as stickers or transferred directly to wood or glass as a vinyl transfer).
Use transfer paper over top of the stencil to transfer the vinyl stencil to the canvas. Rub into place and peel away the transfer paper.
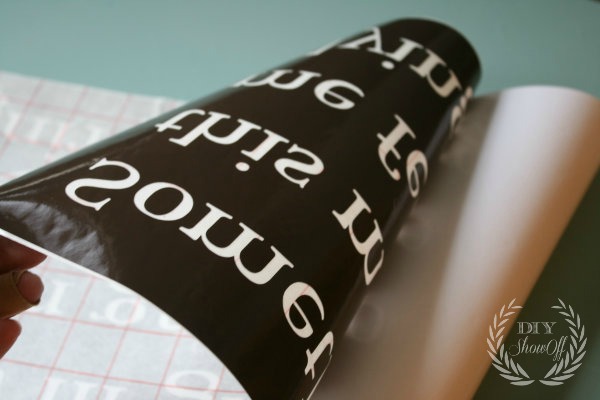
It’s not quite that simple. Vinyl doesn’t stick so well to canvas, so it takes a lot of patience. Go slow.
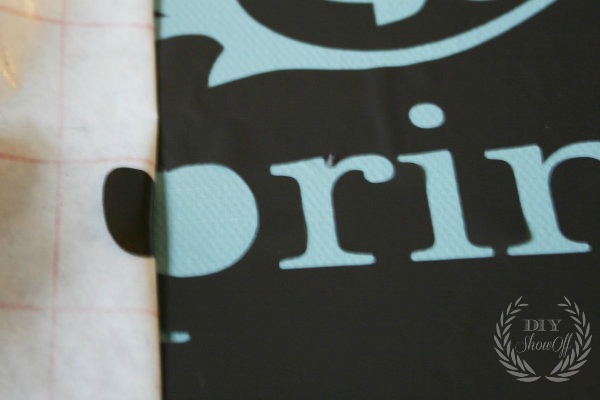
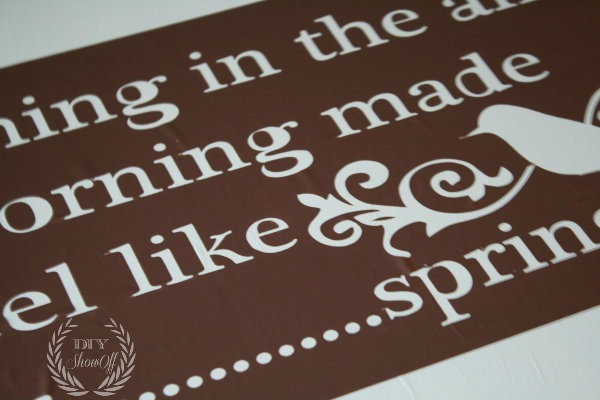
The stencil is all ready to go.
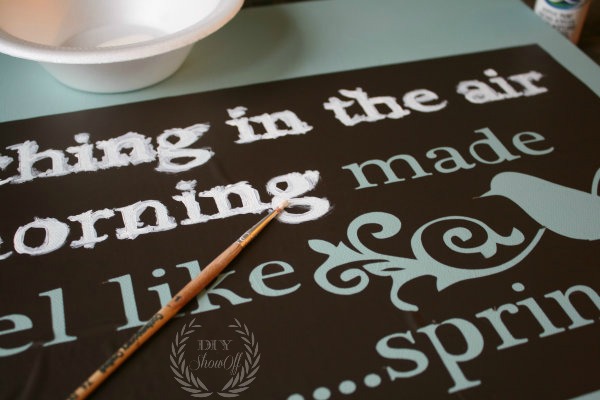
I filled in my lettering with white acrylic craft paint. Since the vinyl does not have a great seal, I’m using my stencil as a guide and filling in the letters with a little bit of paint on the brush, pressing down the vinyl as I work on each individual letter. Slopping it on, will get under the vinyl.
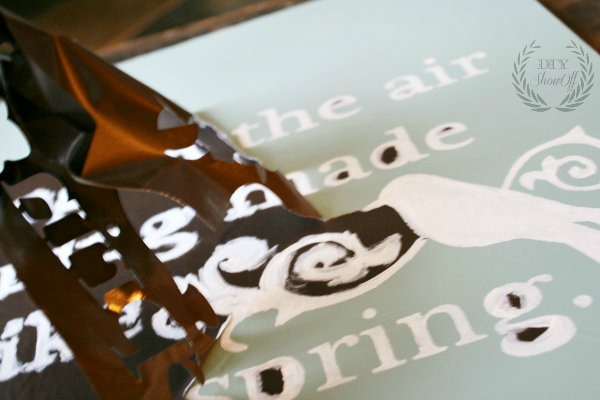
Next, I carefully removed the vinyl stencil as soon as I finished painting and let my canvas dry.
Then just collected some of my favorite spring-y decor and created a vignette around my DIY spring sign as a focal point. Good bye winter blues!
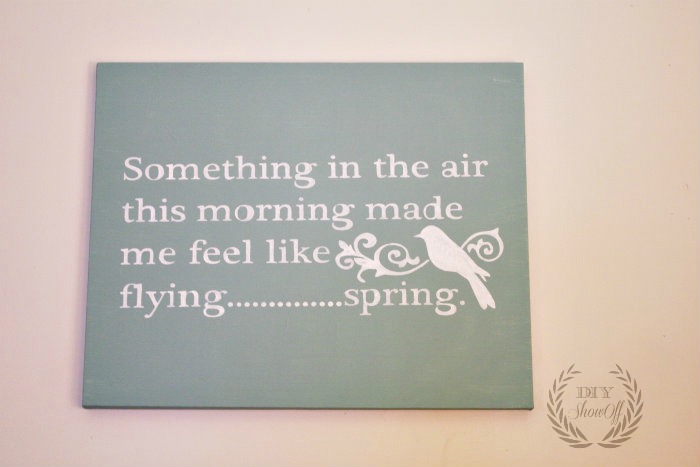
Hello spring!
Silhouette America is running a crazy spring special you won’t want to miss! Just use the code “SHOWOFF” at checkout {affiliate link} now through March 8th to take advantage of the discount prices.
Read more at http://diyshowoff.com/category/crafts/art/#RzlthQqithTELudR.99
moveable centerpiece
 http://www.meadowlakeroad.com/category/mantel
Oh so lovely as some of you know I am really reallly fond of interchangeable items.


Abonner på:
Opslag (Atom)