
Viser opslag med etiketten DIY. Vis alle opslag
Viser opslag med etiketten DIY. Vis alle opslag
november 01, 2014

juni 01, 2013
A nice DIY if you have time
I stumbled upon this pretty and - in this case insperational - story for at great DIY
Farmers Market sign reveal with a story

I have grown almost addicted to Donnas blog and great wood pallet projects.
Farmers Market sign reveal with a story

I have grown almost addicted to Donnas blog and great wood pallet projects.
maj 26, 2013
Paper cone wreath
 tutorial
Today´s featured DIY is a very comon idea of a paper cone wreath. I would however like to point out the idea of framning it and hangning it on the frame. I think that the option to interchange the "things" in the frame aka some thing for easter and another for christmas.
Other ideas
Todays DIY
 I must say I think I am getting close to todays DIY - moveable centerpieces
Source
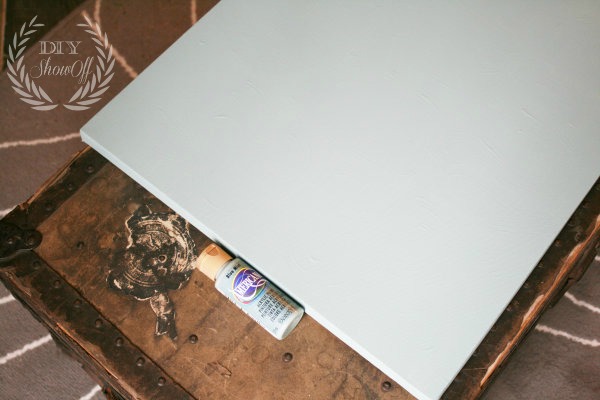
For this project, I gathered
- an old canvas
- acrylic craft paint
- my Silhouette Studio Designer Edition software
- my Silhouette Cameo.

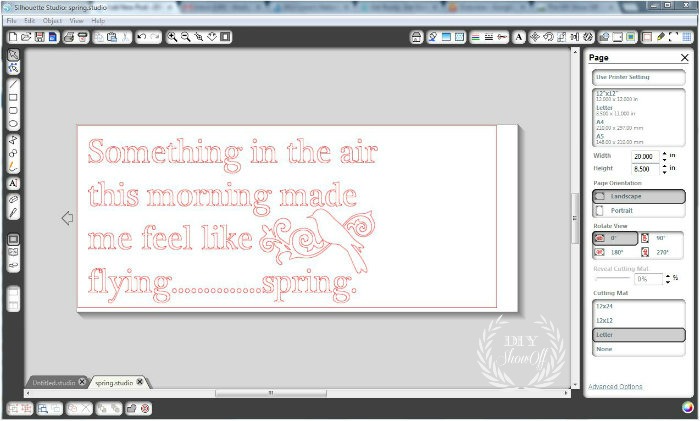
I created my spring stencil using the Silhouette Studio Designer Edition software which allows me to select fonts, sizes and shapes to create a stencil template. Then simply ‘send’ to cut…
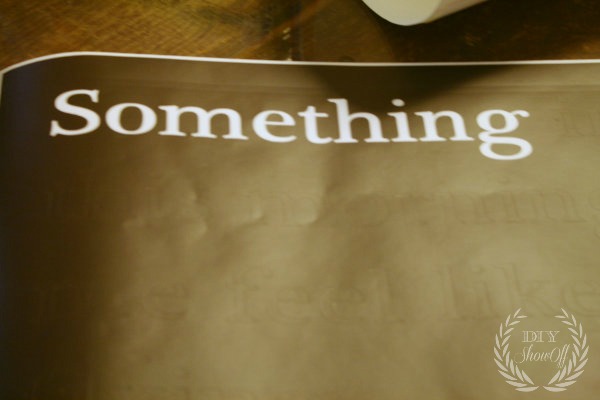
Since I’m using my vinyl as a stencil, I removed all of the letters (these can also be saved to use in the same was as stickers or transferred directly to wood or glass as a vinyl transfer).
Use transfer paper over top of the stencil to transfer the vinyl stencil to the canvas. Rub into place and peel away the transfer paper.
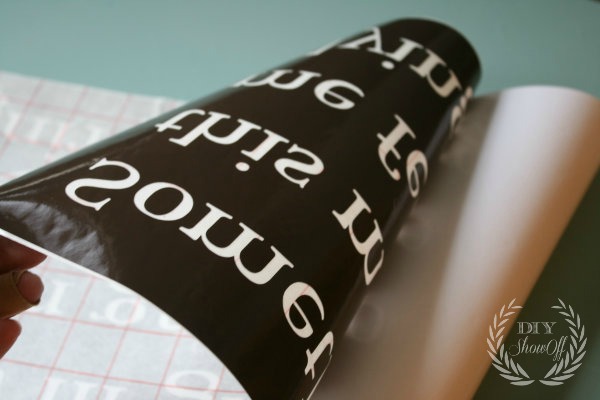
It’s not quite that simple. Vinyl doesn’t stick so well to canvas, so it takes a lot of patience. Go slow.
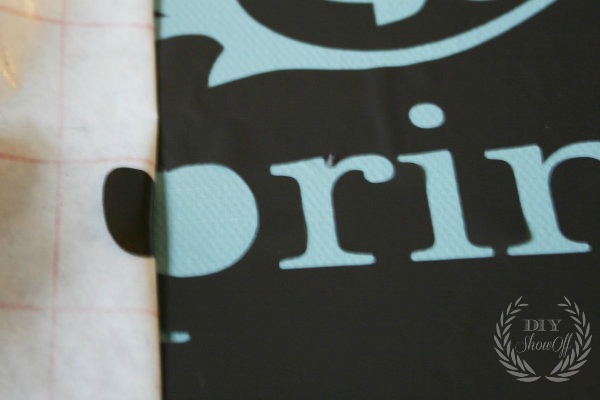
The stencil is all ready to go.
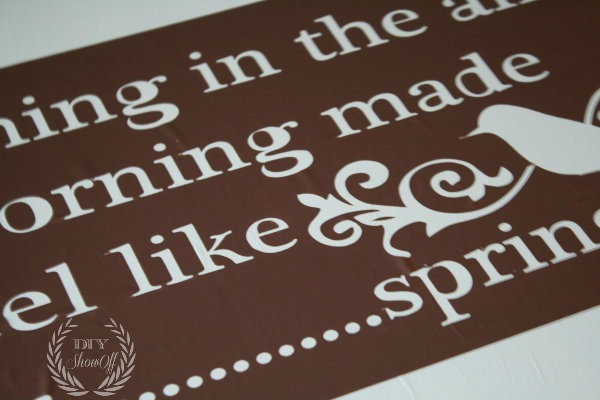
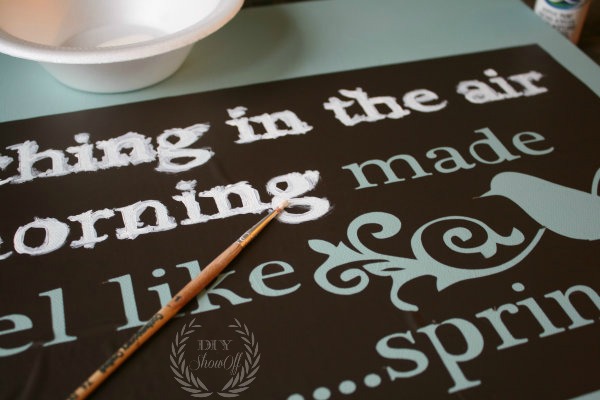
I filled in my lettering with white acrylic craft paint. Since the vinyl does not have a great seal, I’m using my stencil as a guide and filling in the letters with a little bit of paint on the brush, pressing down the vinyl as I work on each individual letter. Slopping it on, will get under the vinyl.
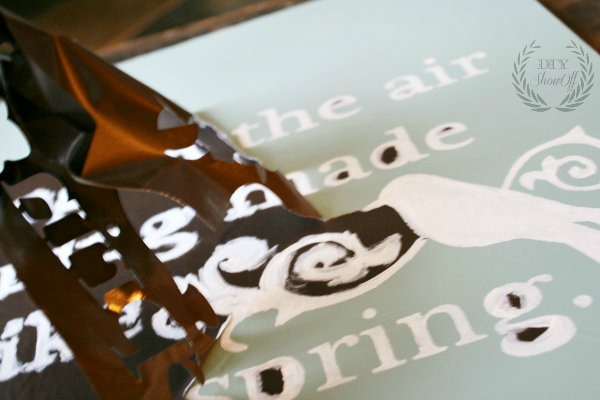
Next, I carefully removed the vinyl stencil as soon as I finished painting and let my canvas dry.
Then just collected some of my favorite spring-y decor and created a vignette around my DIY spring sign as a focal point. Good bye winter blues!
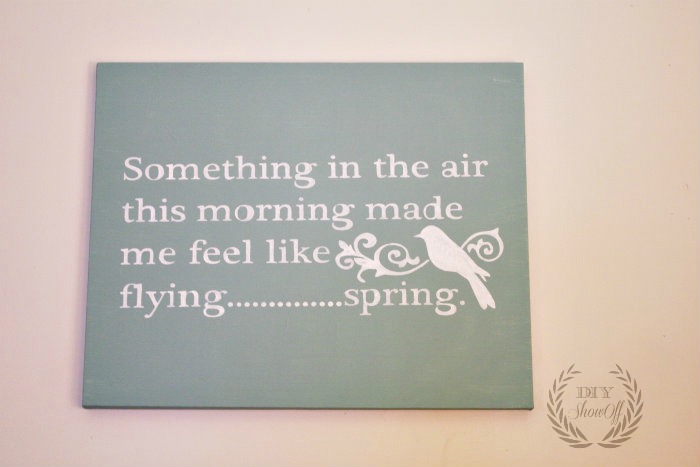
Hello spring!
Silhouette America is running a crazy spring special you won’t want to miss! Just use the code “SHOWOFF” at checkout {affiliate link} now through March 8th to take advantage of the discount prices.
Read more at http://diyshowoff.com/category/crafts/art/#RzlthQqithTELudR.99
moveable centerpiece
 http://www.meadowlakeroad.com/category/mantel
Oh so lovely as some of you know I am really reallly fond of interchangeable items.


maj 20, 2013
maj 19, 2013
Louisville Wedding Blog - The Local Louisville KY wedding resource: Vintage Paper Flowers at your Wedding
Louisville Wedding Blog - The Local Louisville KY wedding resource: Vintage Paper Flowers at your Wedding: Source A great thing about paper flowers, is that not only are they unique, they'll last longer than real flowers and you can i...


With the tutorial
 Pretty Tissue Flowers
These delicate petals create an elegant centerpiece whether scattered down the center of a table or piled on a platter. To create, cut a flower shape or 3-inch circles from eight layers of tissue paper. Place in a stack. Next, poke a hole through the stack with a pin. Pull the paper off the tip of a twist tie and insert the exposed wire through the paper layers. Twist the wire to create the flower center. Make the flower bloom by gently pulling up one layer at a time.

maj 11, 2013
Ramblings of a Happy Homemaker: Skin Care Series - Eye Cream
Ramblings of a Happy Homemaker: Skin Care Series - Eye Cream: Today I want to share my favorite eye cream with you. It is super simple to make using only two ingredients - coconut oil and Vitamin E....
maj 03, 2013
For thoose summerparties
 source
What You Will Need:your chosen fabrics
pinking shears
ruler
fabric chalk(or soft pencil will do)
pins
string
sewing machine
pinking shears
ruler
fabric chalk(or soft pencil will do)
pins
string
sewing machine
I used clothes line string from the hardware store. There were 2 kinds. The cotton string and sythentic string. I recommend the synthetic string because it was much lower in price, and it is much easier to sew the pennant flag onto the string with the sewing machine.
Instructions:
1) Cut your Fabric – These are the dimensions I cut all my flags, but how wide and long your flags are completely up to you. I have seen a lot of very fun flags that were all in different sizes. Experiment and have fun! The extra rectangular piece of fabric above the triangular flag is the part you will need to sew on the string.
2) Attaching the flag on the string - Place the string over the rectangular portion of the flag, and roll the fabric over the string.
3) Pin the Flag Down
4) Sew the Flag - You may want to test if your sewing machine will sew over the fabric and string you choose.
5) You are done with your first Flag! - I space mine 12′ inches apart and repeat till you have your desired length.
I really really like this setting from Country life
 items need:
Can to paint and paint of course
table cloth with ribbon
inexpensive flowers
april 07, 2013
marts 31, 2013


Abonner på:
Opslag (Atom)